How to Enable Two-Factor Authentication (2FA) for WordPress Users
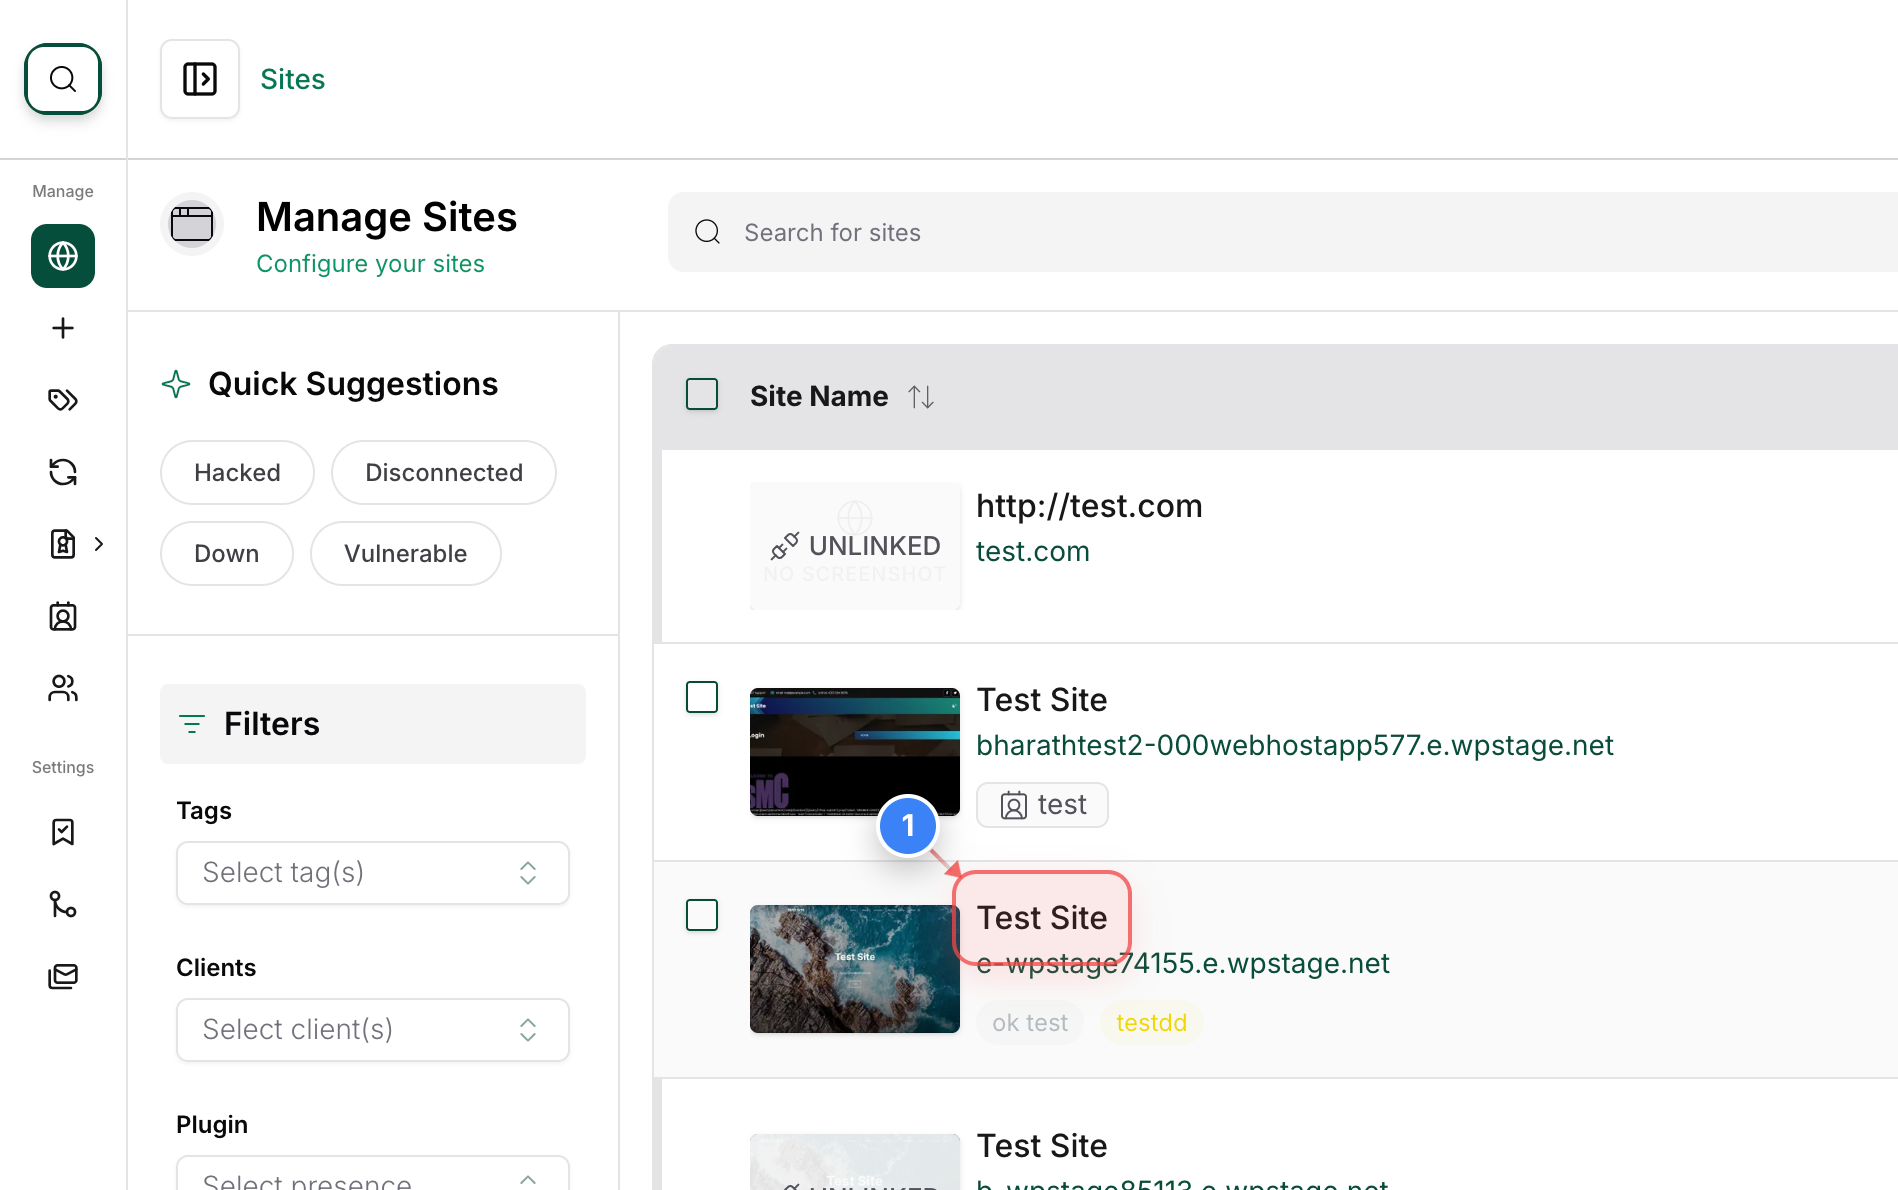
Step 1 of 12
Select Your Website
Click on the site name in the center of the Sites page to open the specific management dashboard for that website.
Note: This will take you to the site-specific details where you can manage the site.
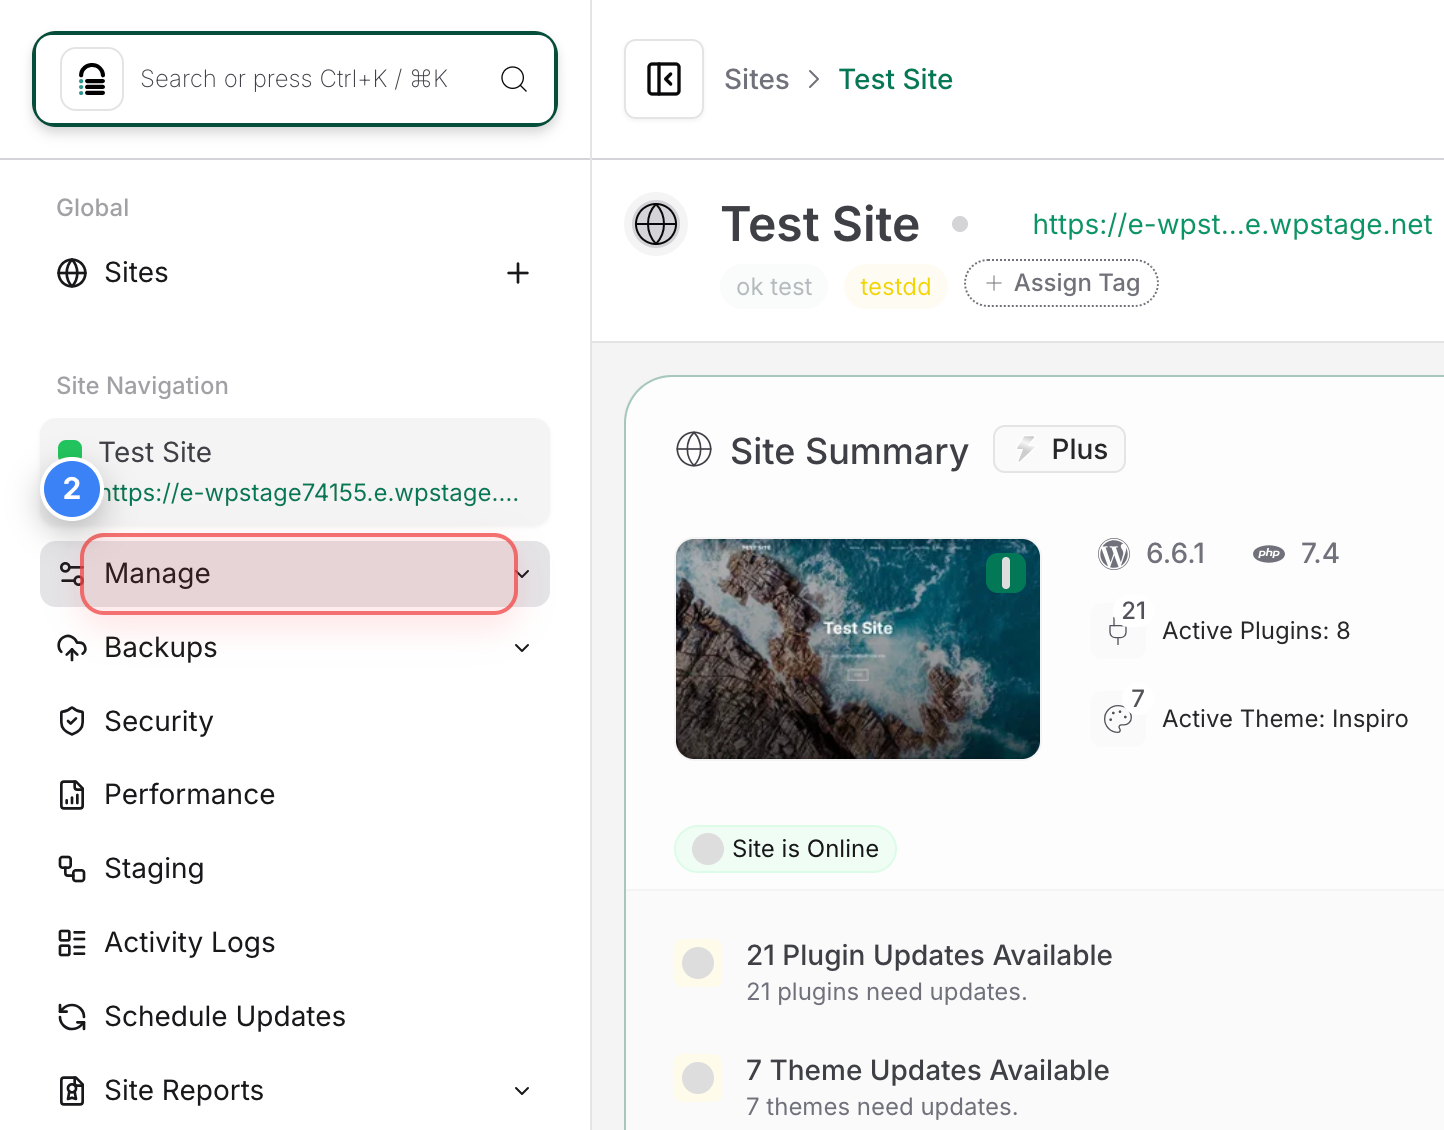
Step 2 of 12
Access Site Management
Click on the Manage option in the left sidebar to expand the administrative tools for your site.
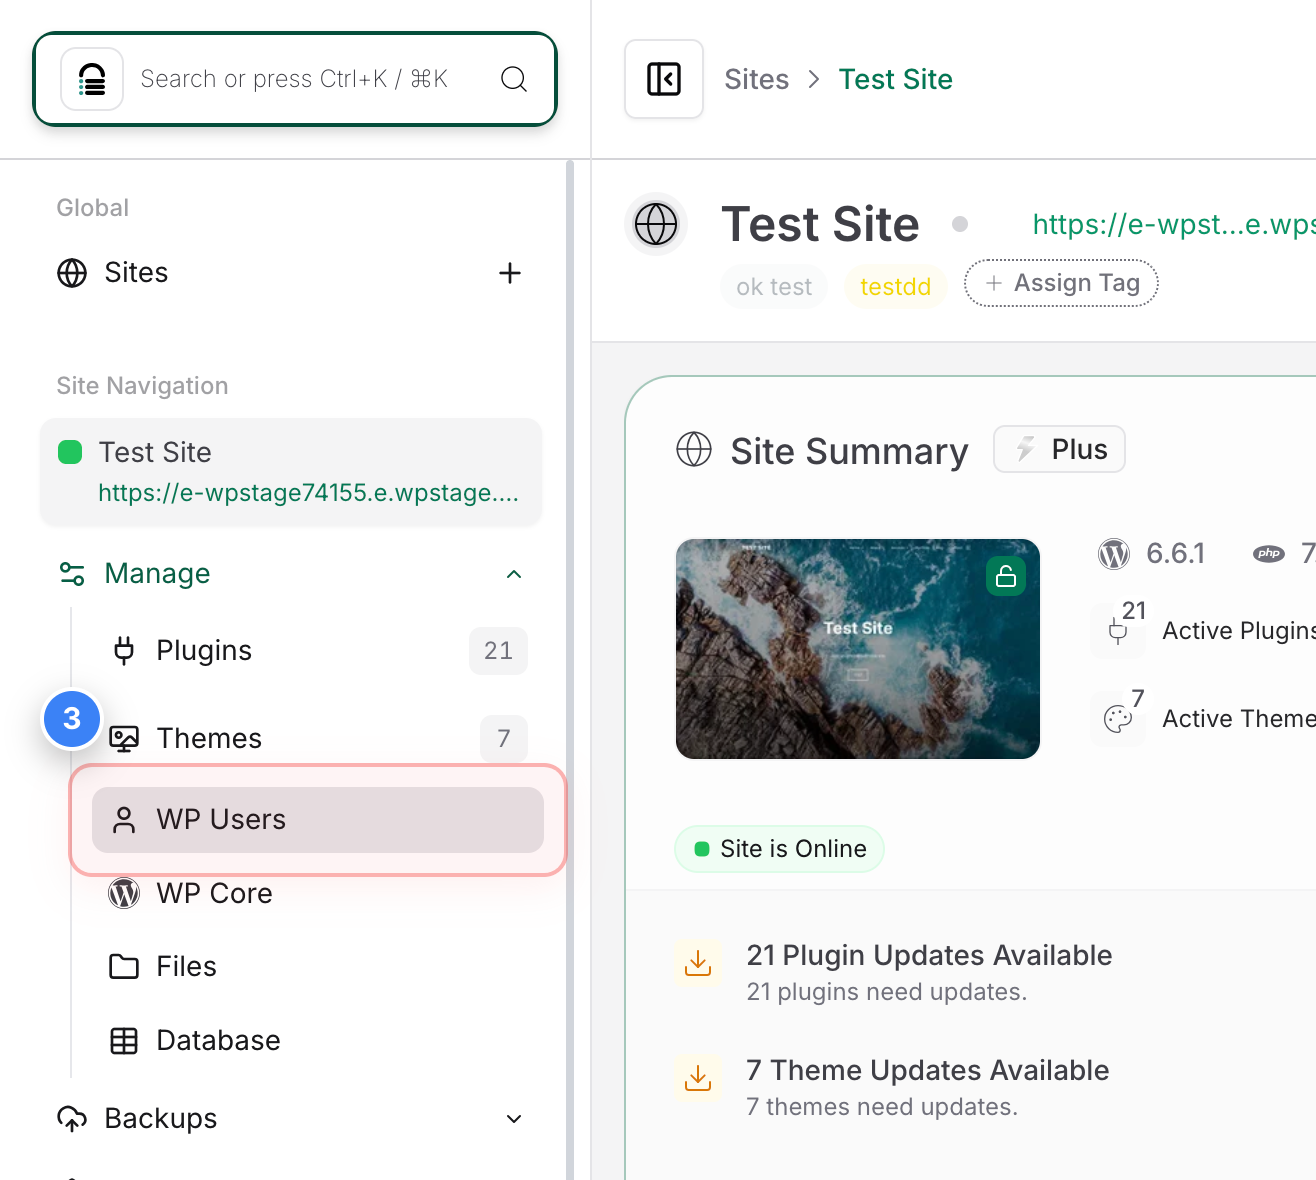
Step 3 of 12
Open WordPress User Settings
Select WP Users from the sidebar menu to view and manage the security settings for your WordPress user accounts.
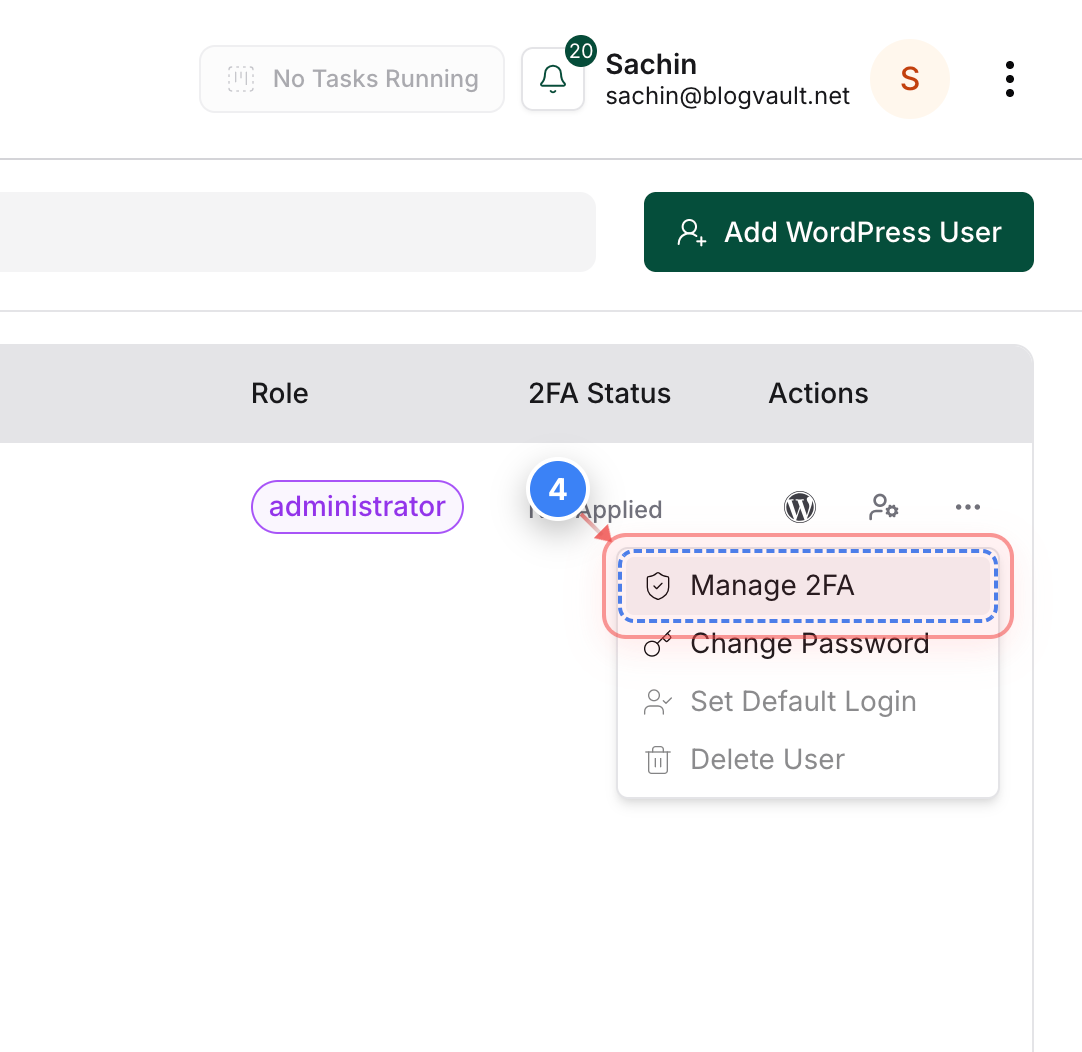
Step 4 of 12
Initiate 2FA Configuration
Click on Manage 2FA in the user action menu to begin configuring two-factor authentication for the selected user.
Step 5 of 12
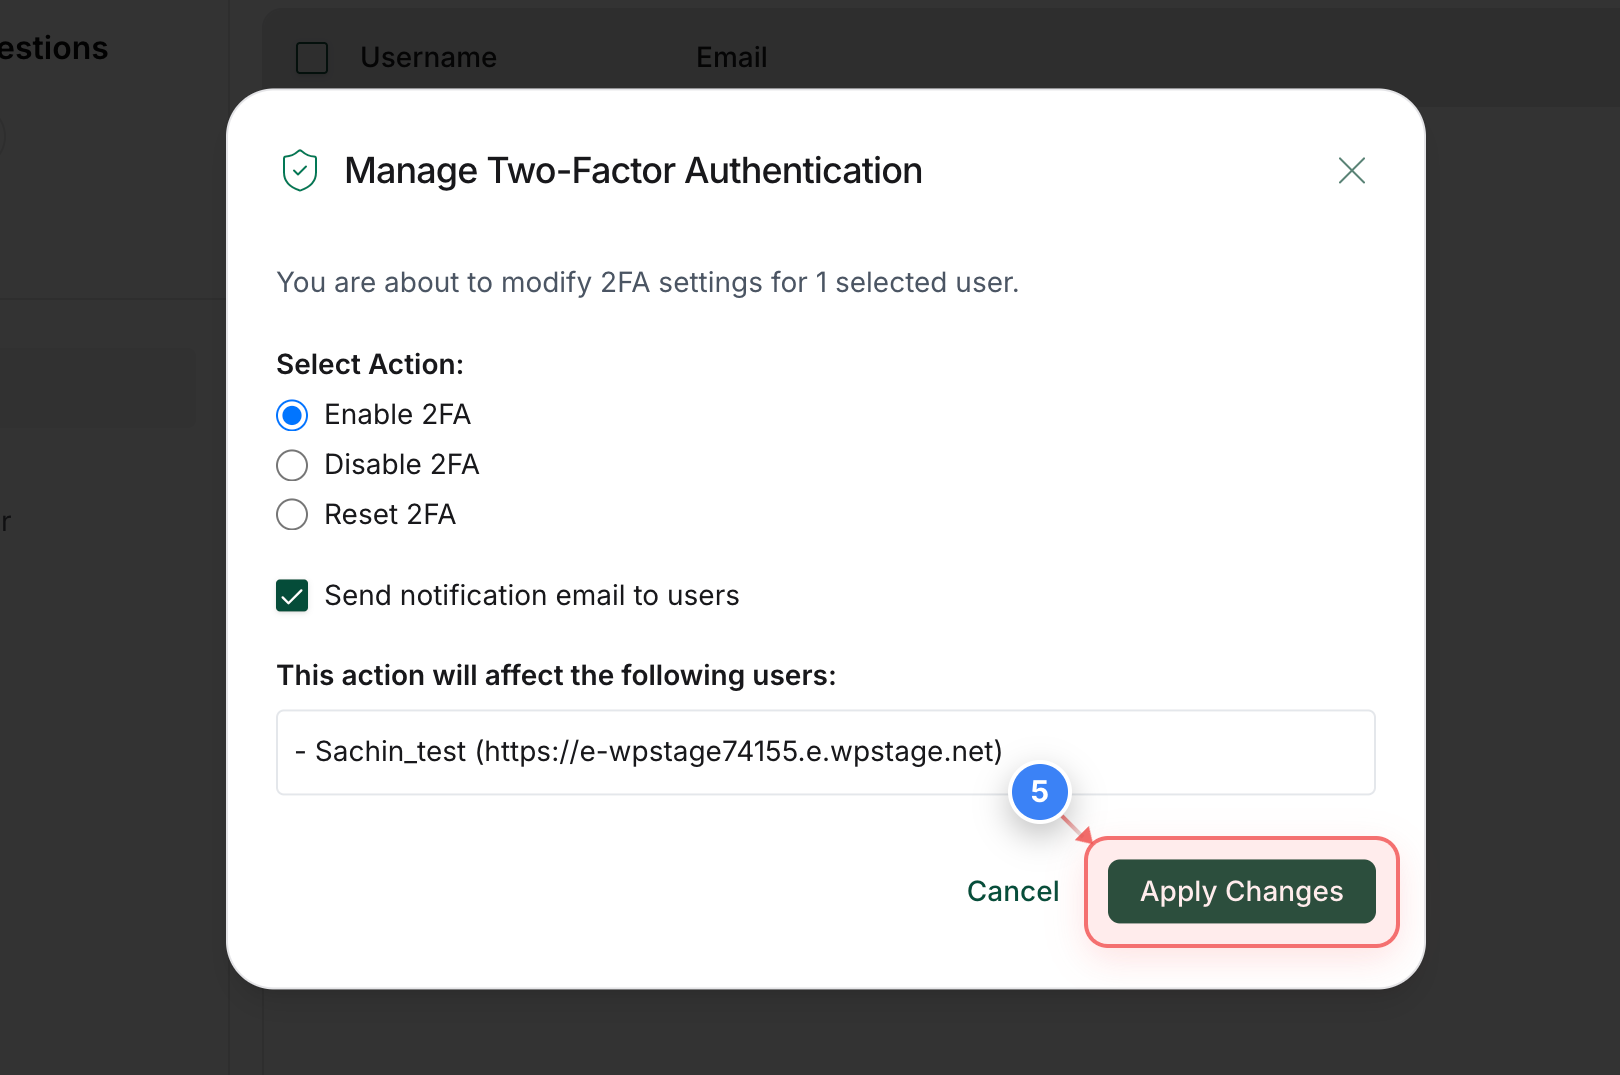
Enable Two-Factor Authentication
Select the Enable 2FA action and click the Apply Changes button to trigger the setup process for the user.
Note: This action sends an automated setup email to the user.
Step 6 of 12
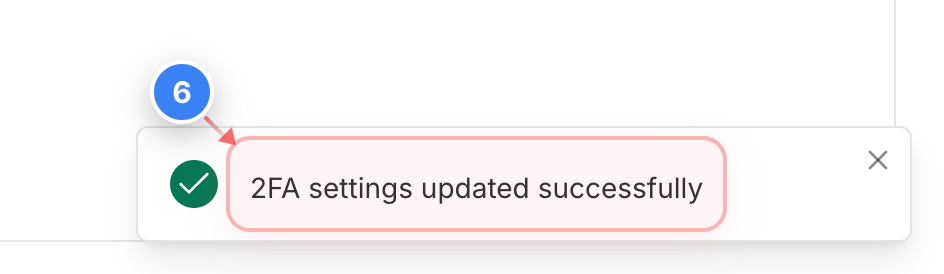
Confirm Status Update
Verify that the notification 2FA Process initiated successfully appears at the bottom-right of your screen.
Step 7 of 12
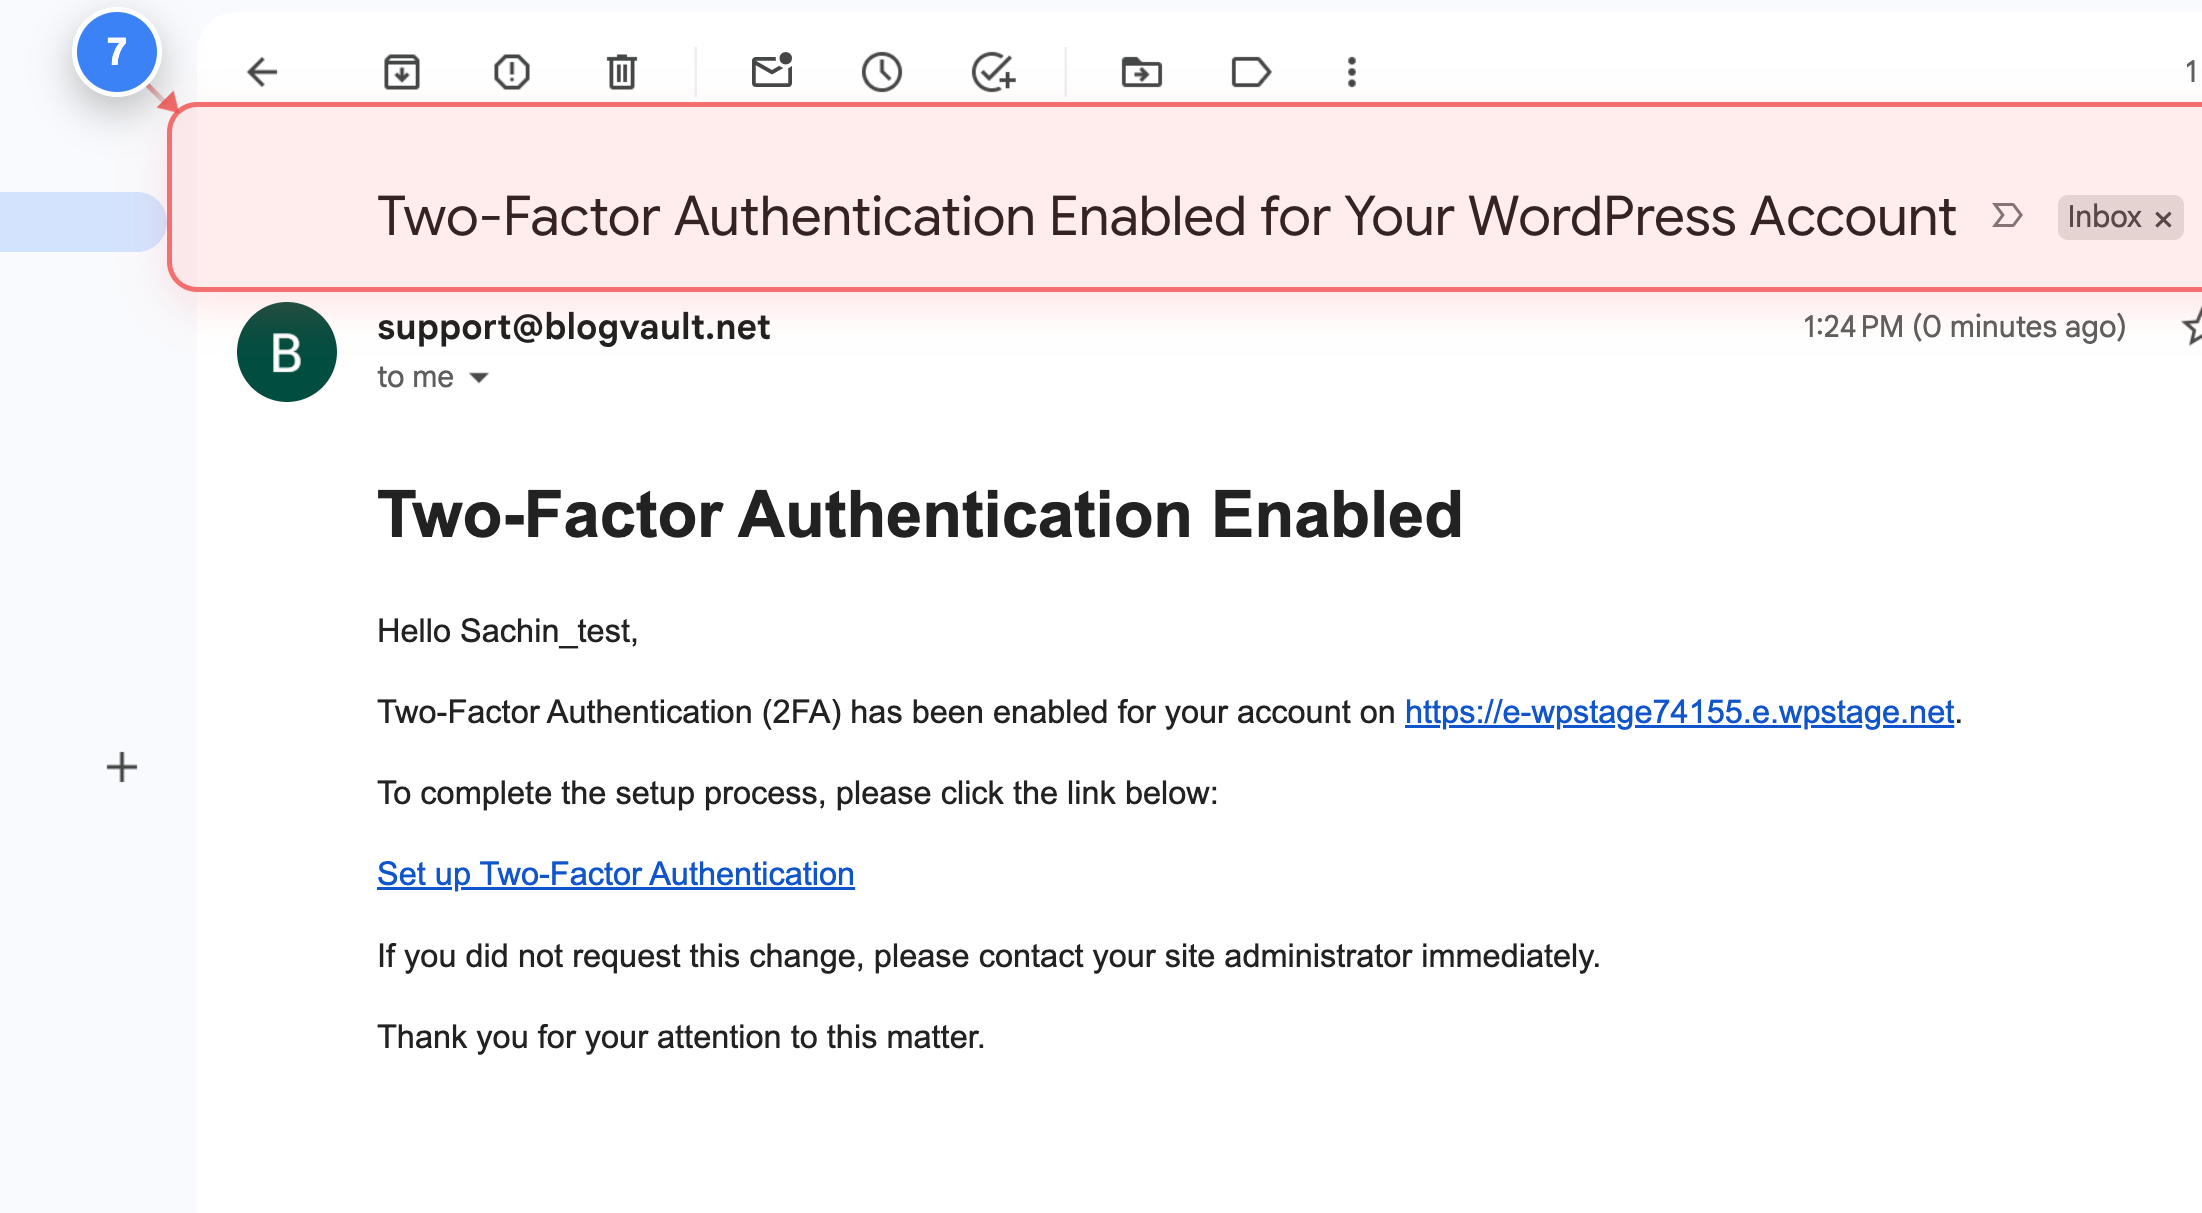
Open the Setup Email
Locate the Two-Factor Authentication email in your inbox and click the setup link to proceed to the verification page.
Note: Ensure you check your spam folder if the email does not arrive within a minute.
Step 8 of 12
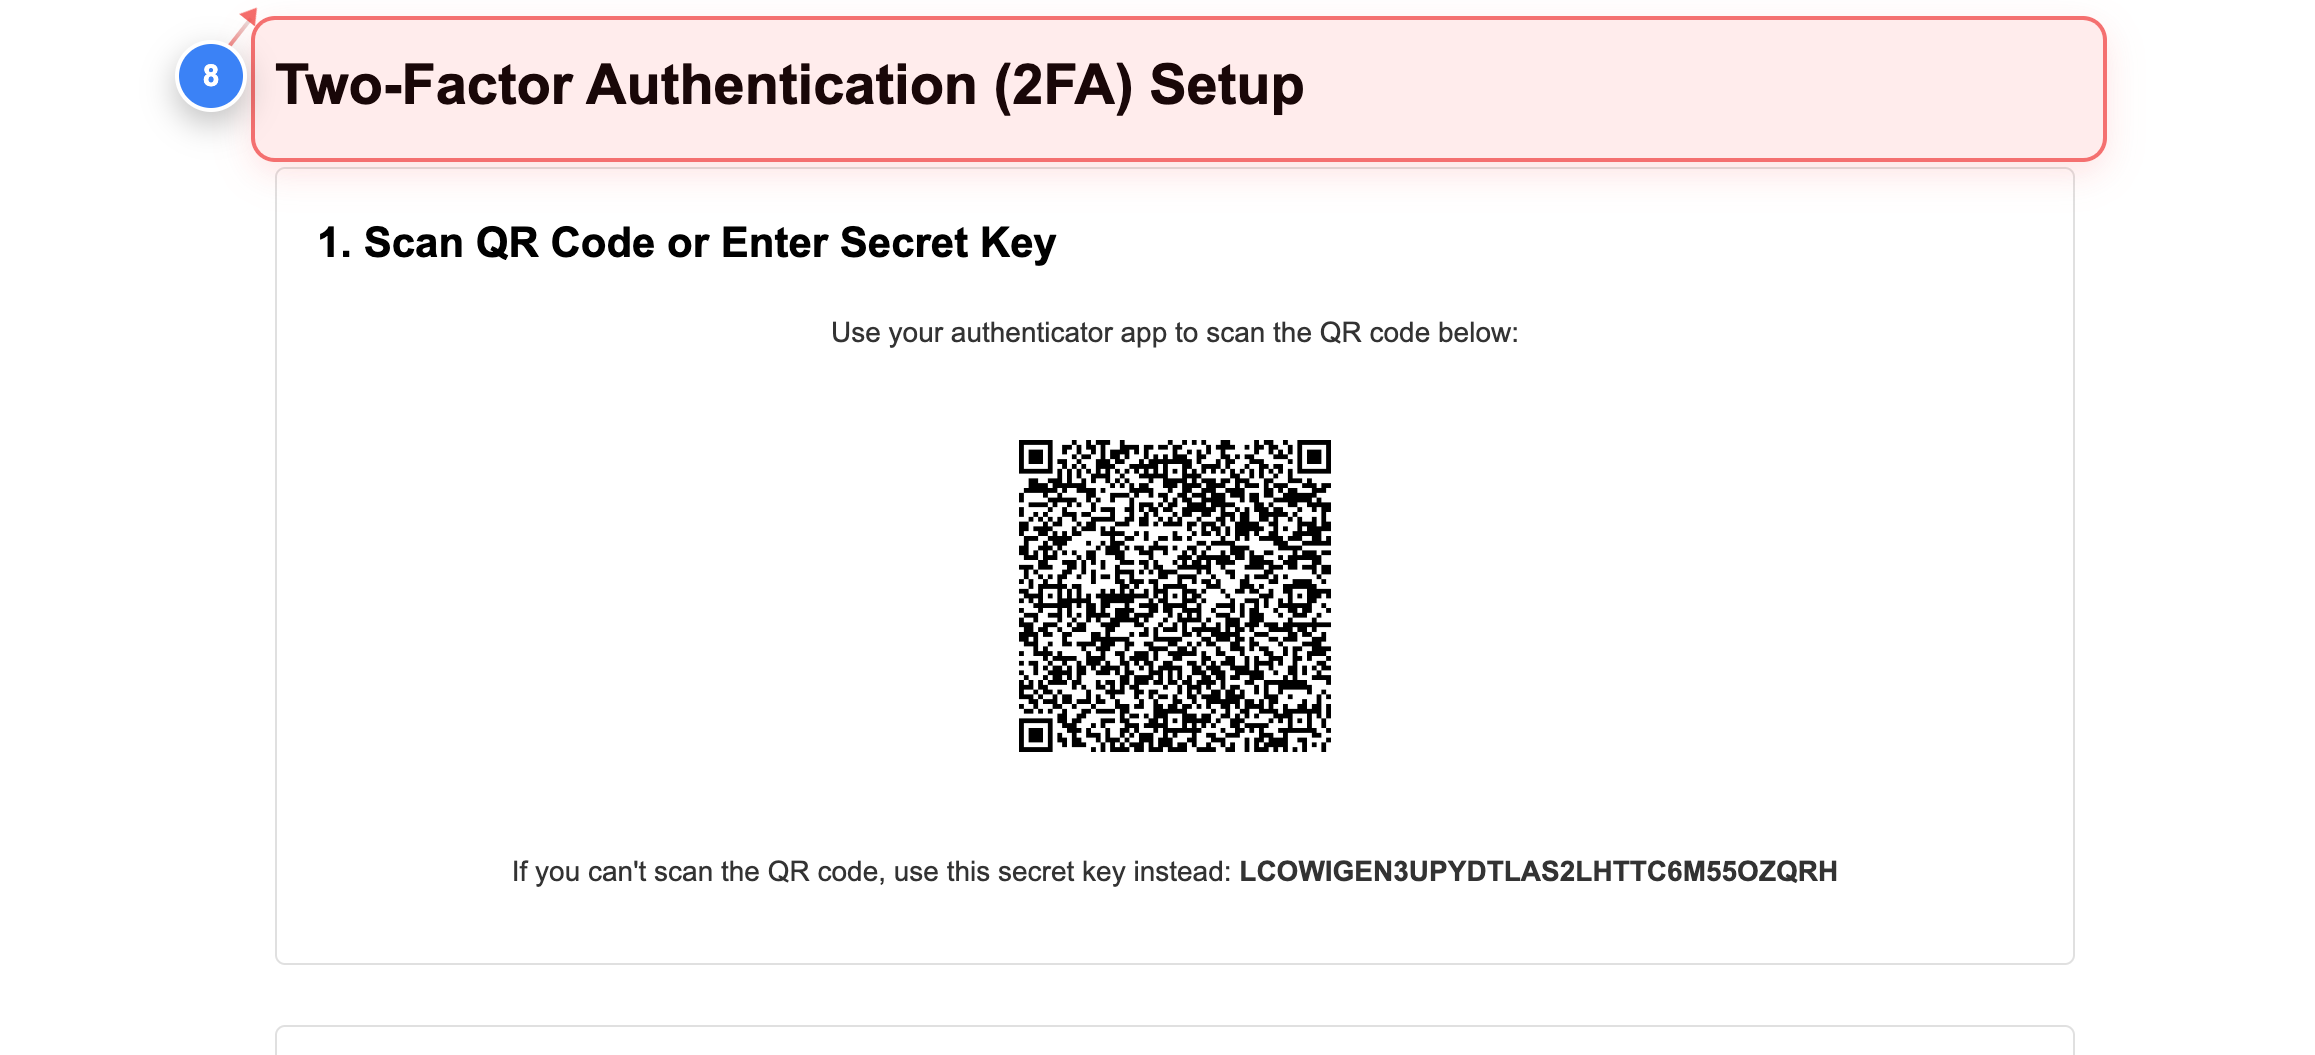
Enter the Authentication Code
Scan the QR code via the authenticator app to get the 2FA code.
Step 9 of 12
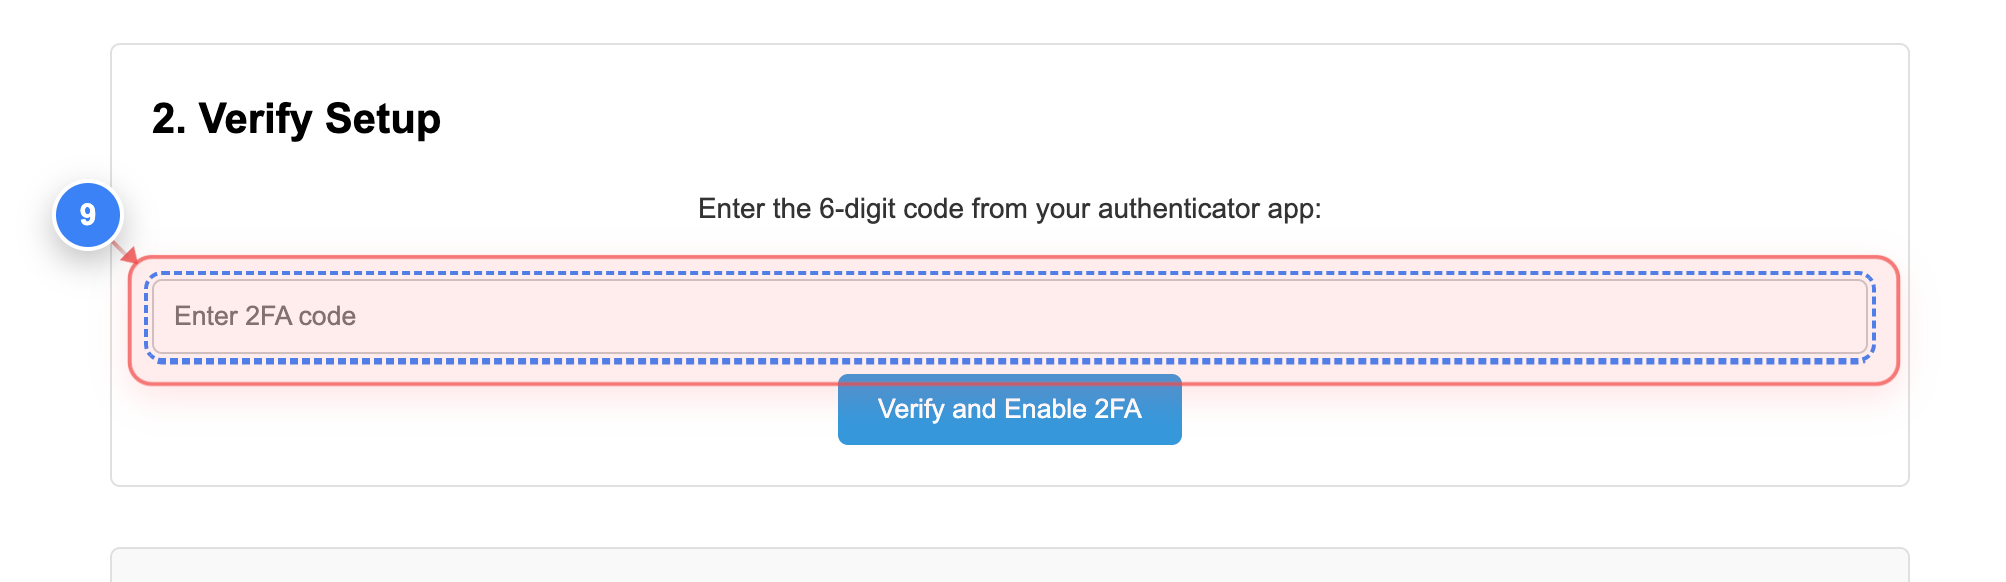
Enter the 2FA Code
Enter the code to Verify and Enable 2FA.
Step 10 of 12
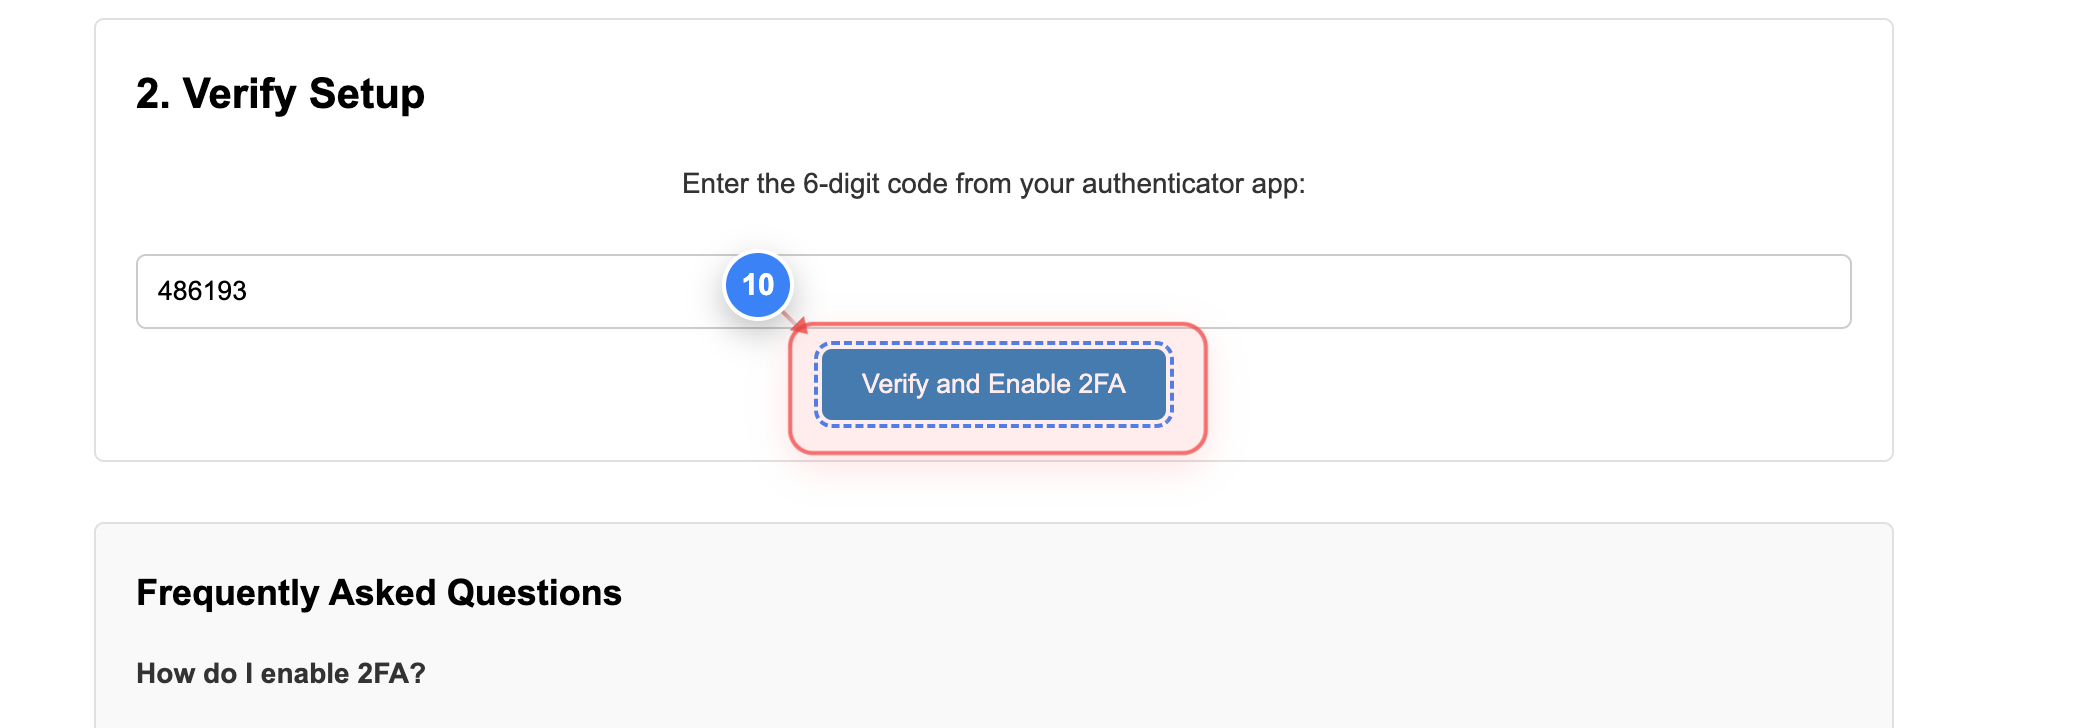
Verify & Enable 2FA
Validate the code & enable the 2FA..
Note: This confirms that 2FA is active and required for future logins.
Step 11 of 12
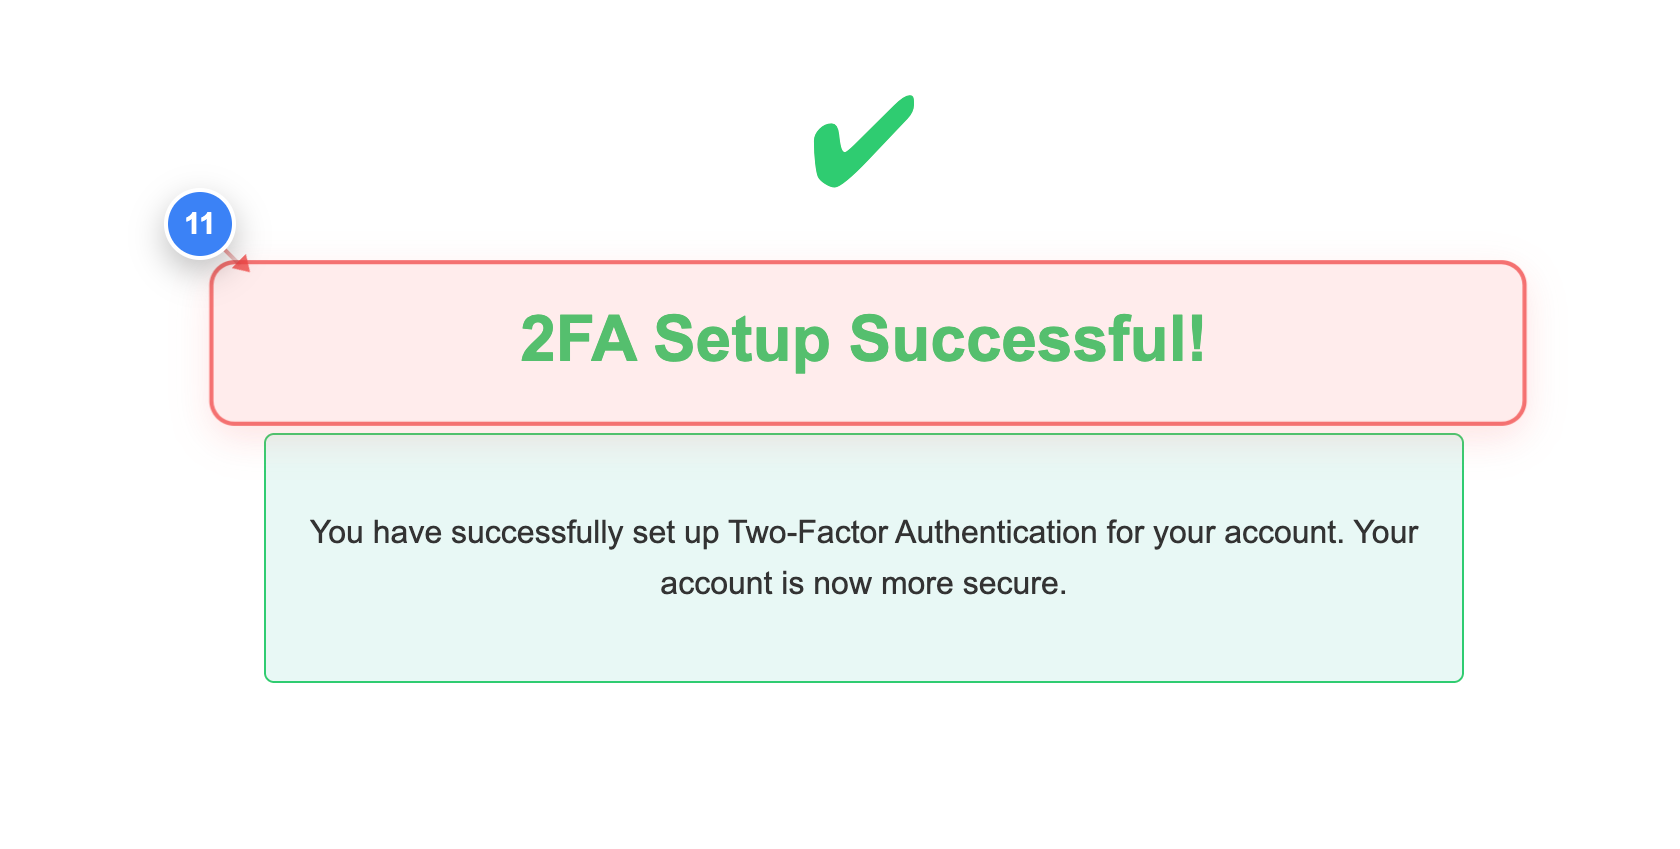
2FA Confirmation
You will see a confirmation message "2FA Setup Successful!"
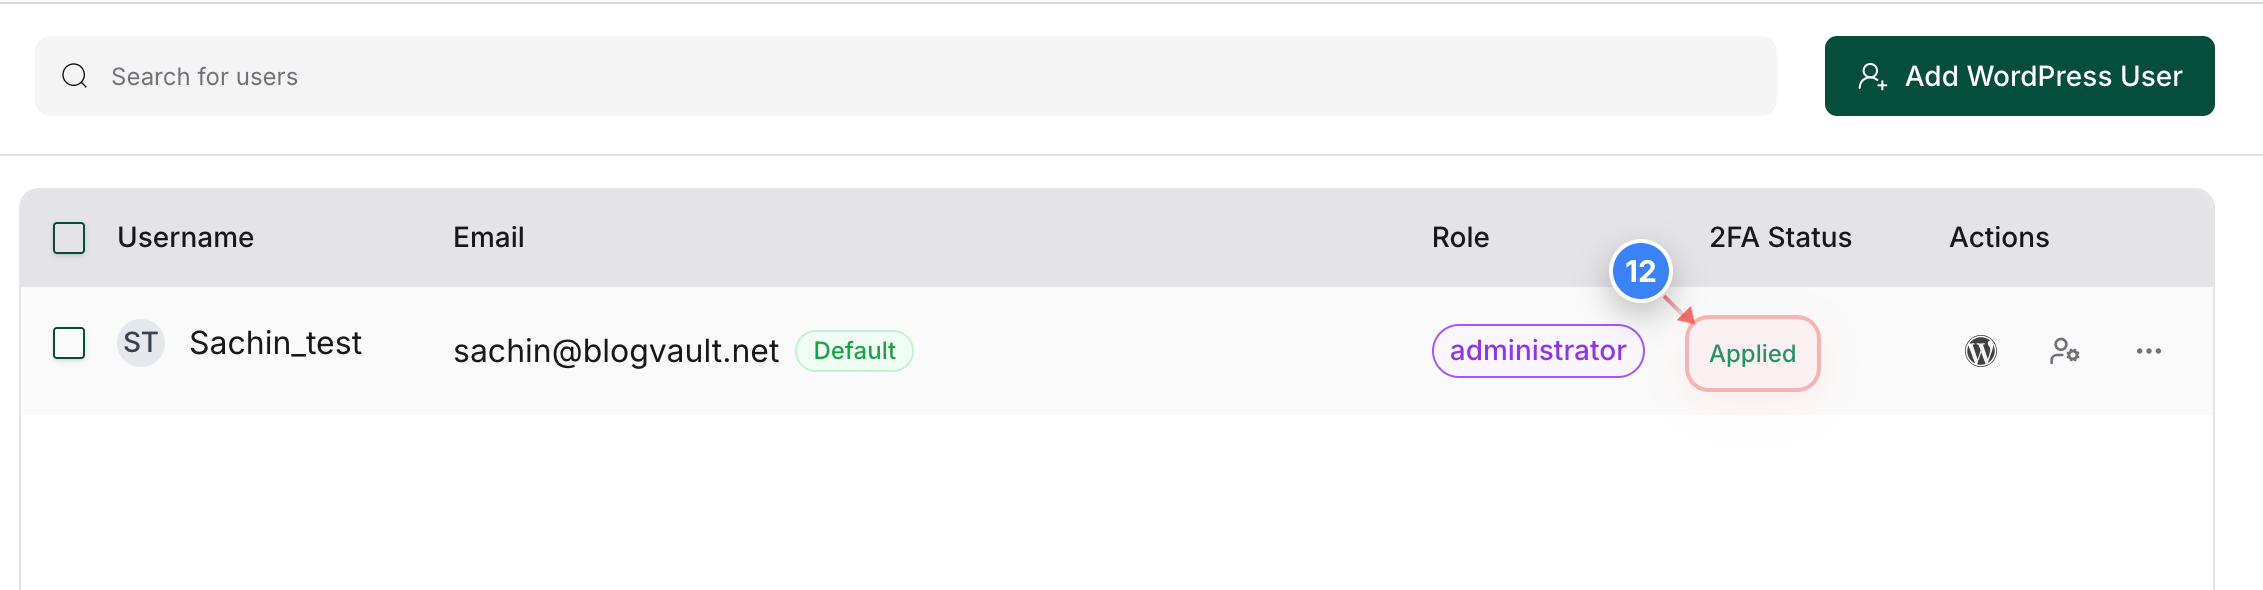
Step 12 of 12
Validate Status
Validate 2FA status "Applied" For the user.