How Do I Add More Email Recipients for a Scheduled Report?
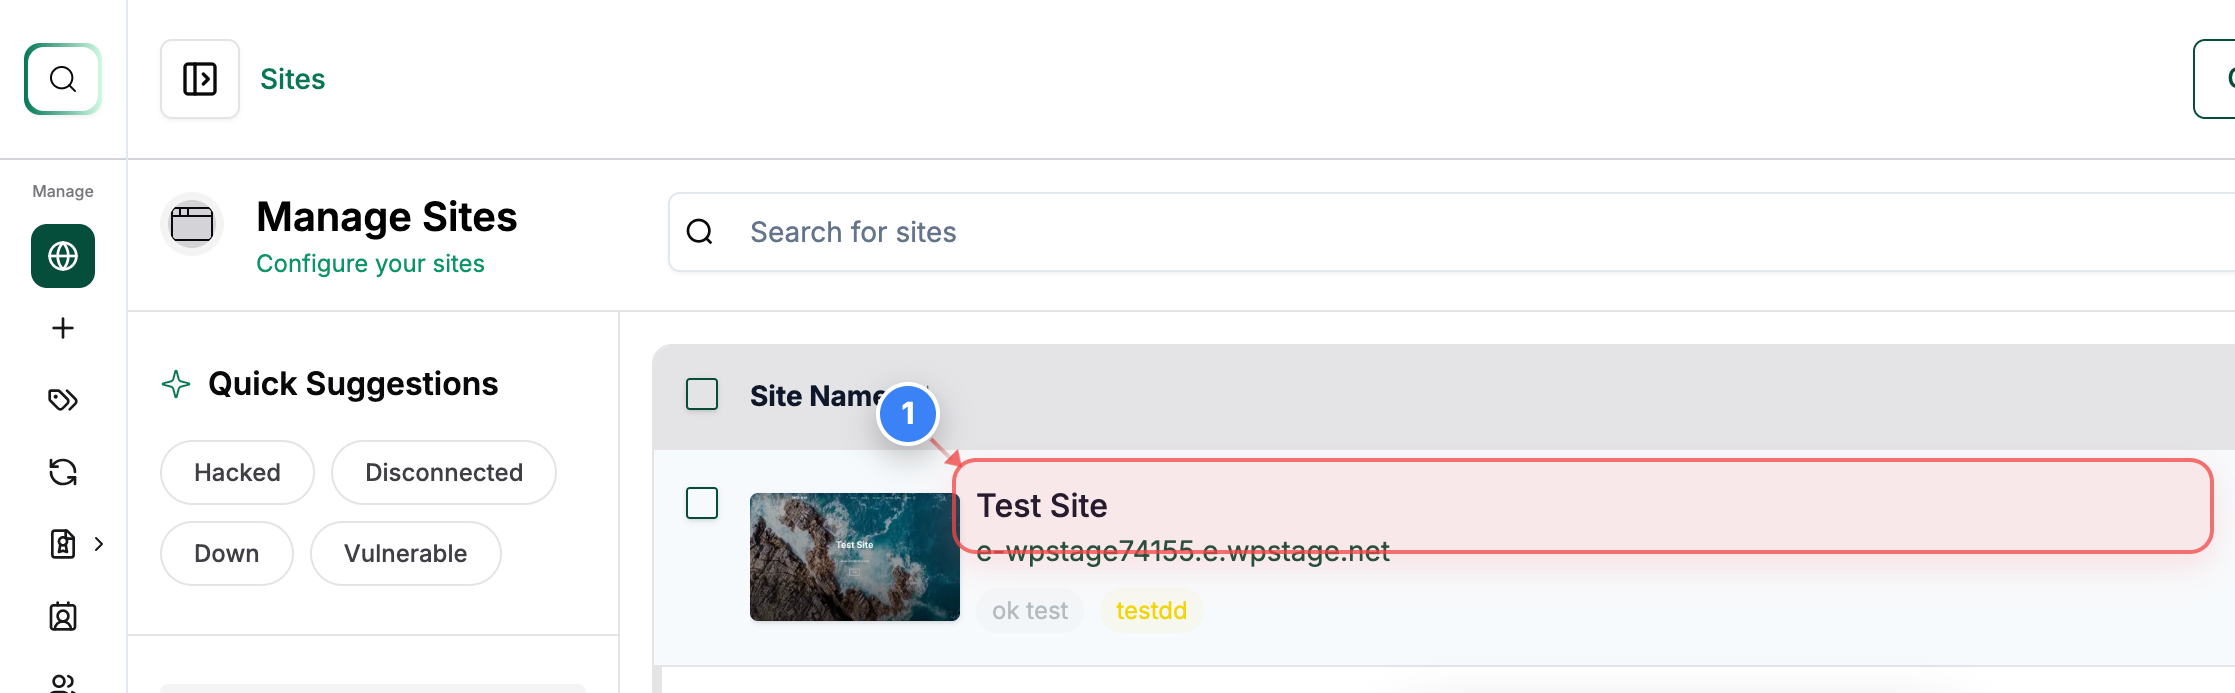
Step 1 of 7
Open Your Site Dashboard
Click on your site in the Sites list to open its management dashboard.
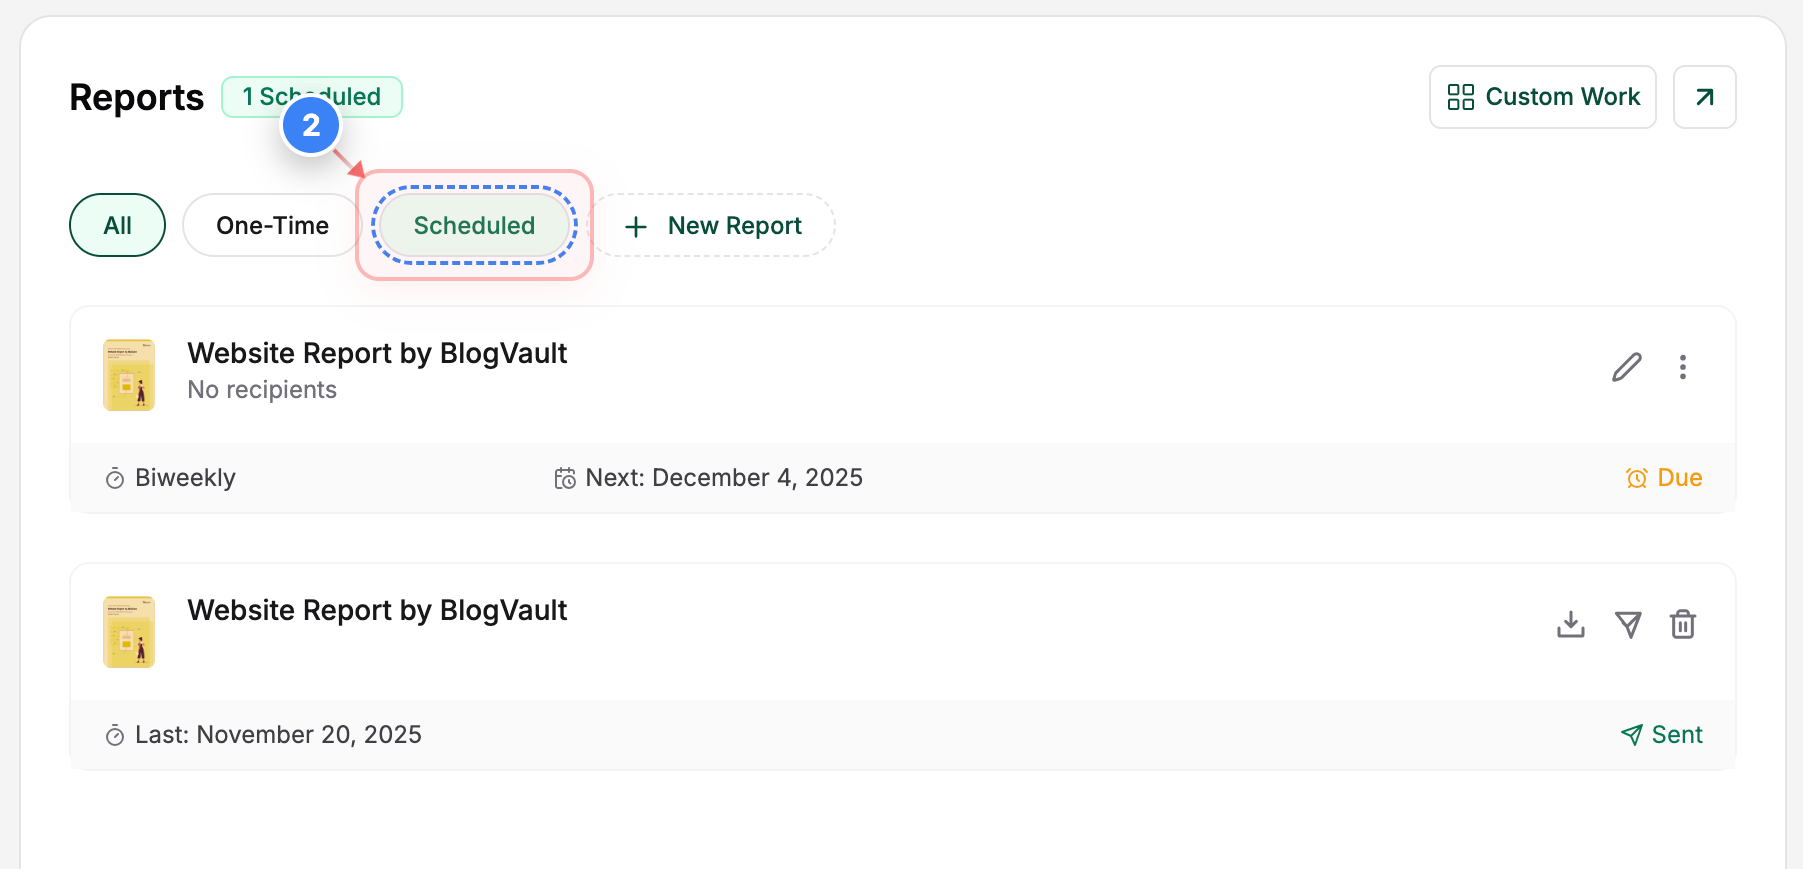
Step 2 of 7
View Scheduled Reports
Select the Scheduled tab in the Reports section to view all scheduled reports.
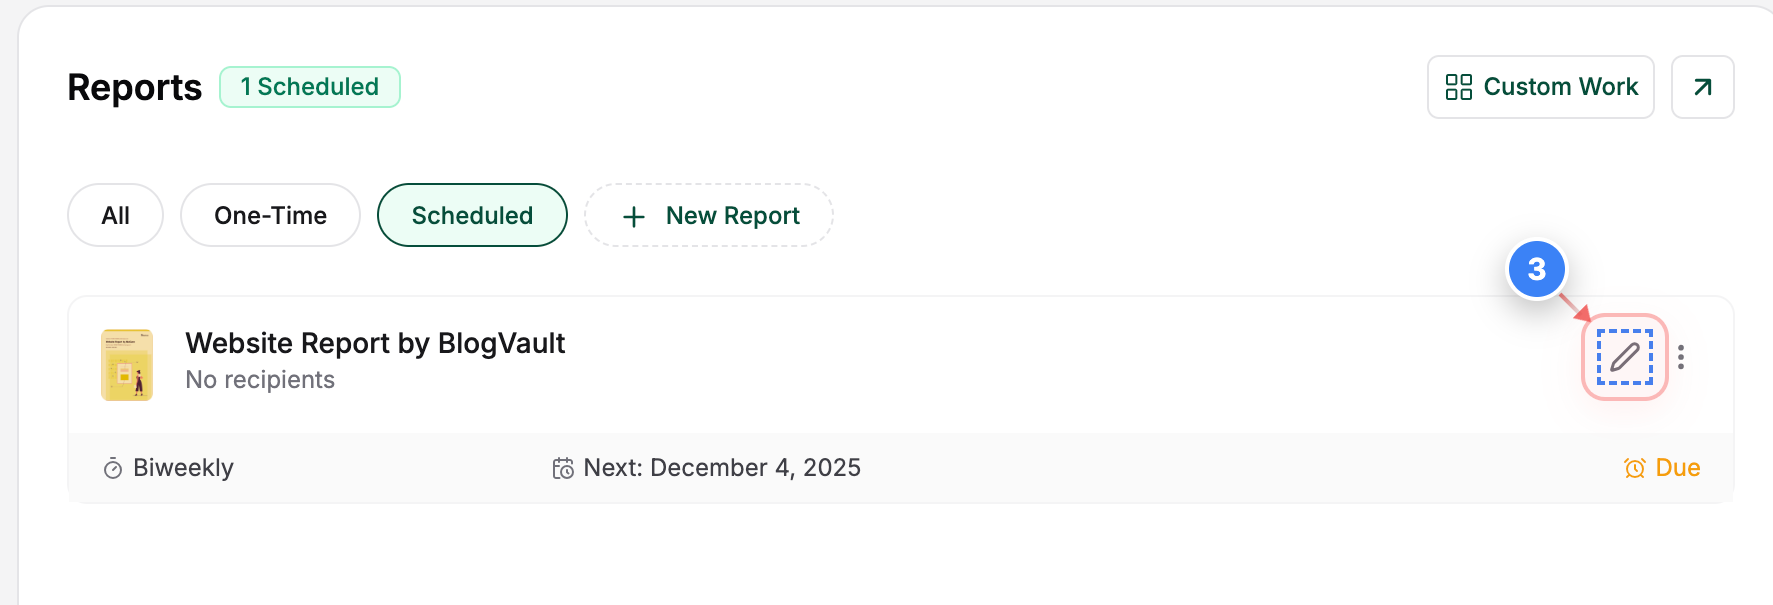
Step 3 of 7
Edit Report Options
Click the edit icon beside the report to start editing the report you want.
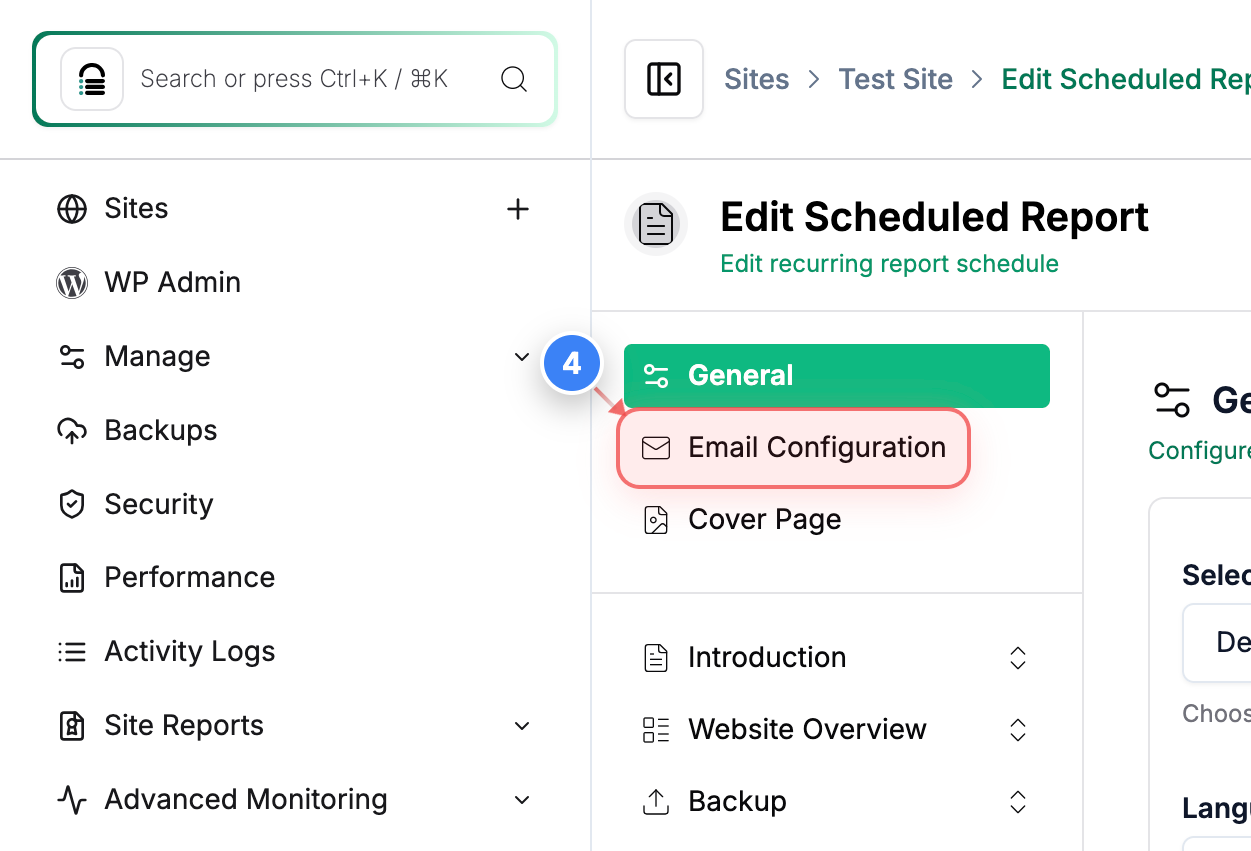
Step 4 of 7
Open Email Settings
Click Email Configuration in the left-side settings menu to adjust recipient and delivery options for the report.
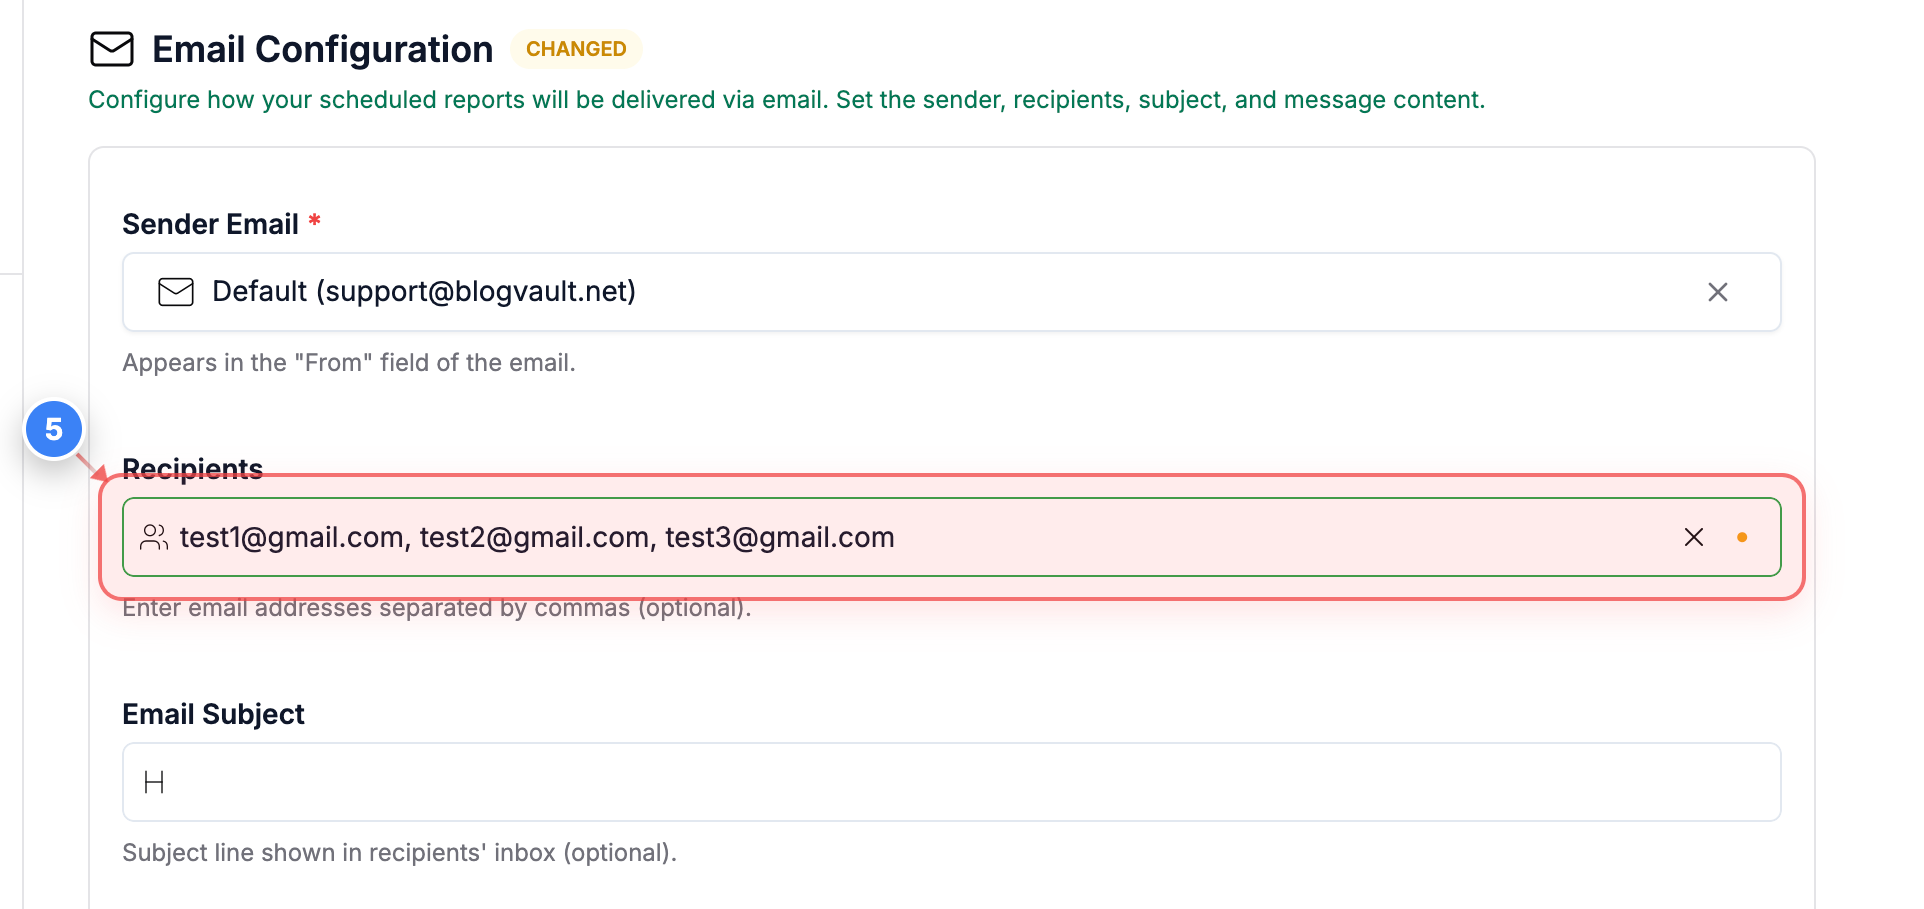
Step 5 of 7
Edit Recipients
See the Recipients field to update the valid email addresses that will receive the scheduled report.
Note: Enter multiple addresses separated by commas. (Screen capture shows example email addresses)
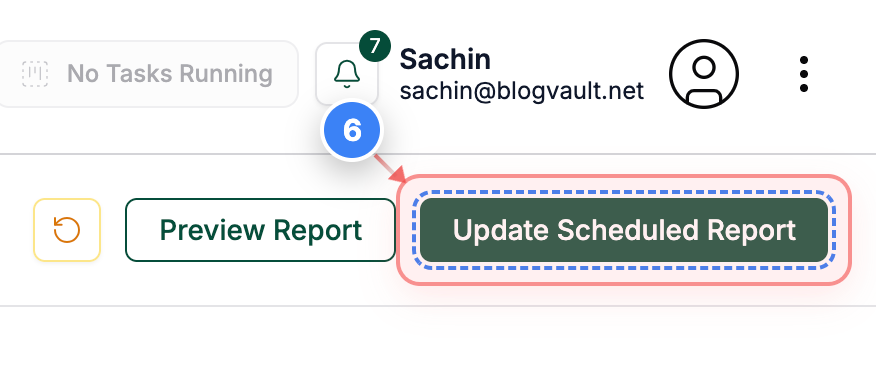
Step 6 of 7
Save Report Changes
Click the Update Scheduled Report button in the header to save your updated email settings.
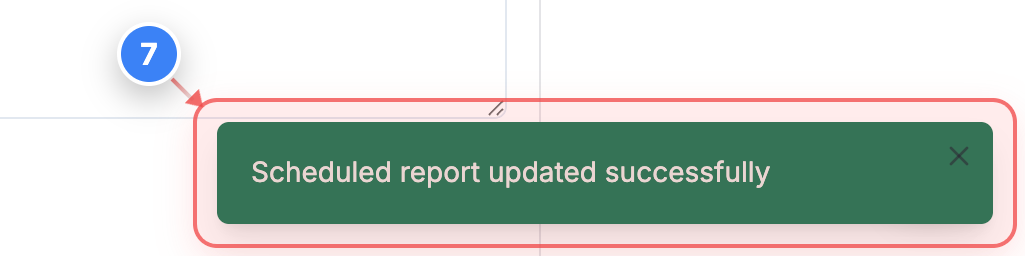
Step 7 of 7
Confirm Update
View the confirmation message to validate that the scheduled report is successfully updated.