How Do I Migrate a Website to Another Site on My Dashboard?
Step 1 of 10
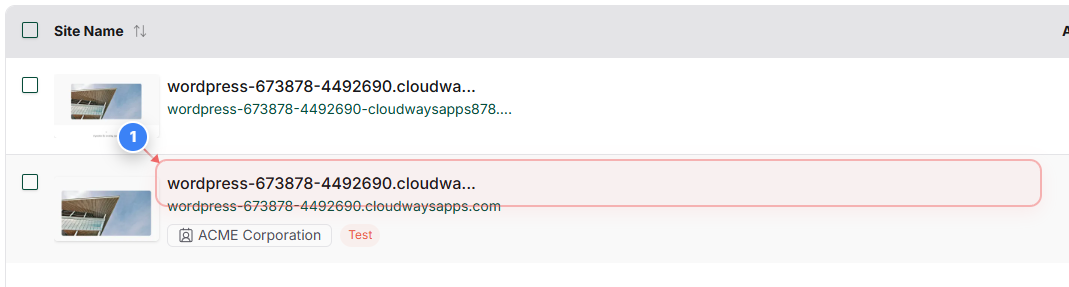
Open your site
Click on your site name from the Sites page to open site overview page.
Note: If you manage multiple sites, confirm you select the correct domain before proceeding.
Step 2 of 10
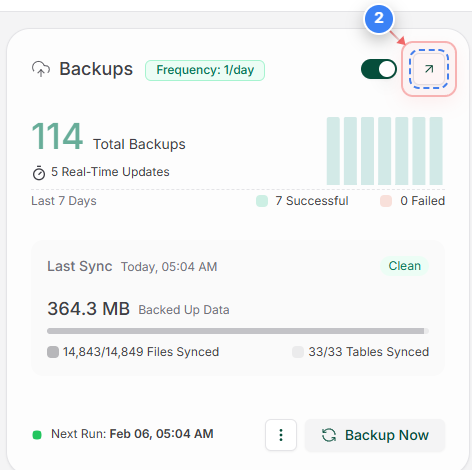
Go to backups
Click the Backups option in the top-right area to view backup settings and available backup actions for this site.
Step 3, 4 of 10
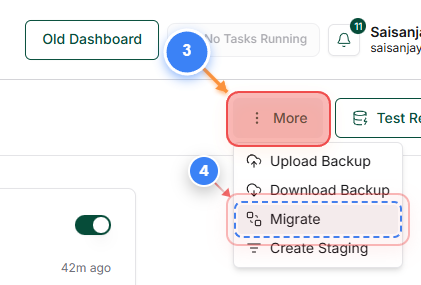
Start migration
Use the three-dot button(Step 3) and click the Migrate option(Step 4) in the top-right area to begin moving this site to a new destination.
Note: Migration uses an existing backup as the source.
Step 5 of 10
Enter destination URL
Click the Destination URL field and start typing the site URL.

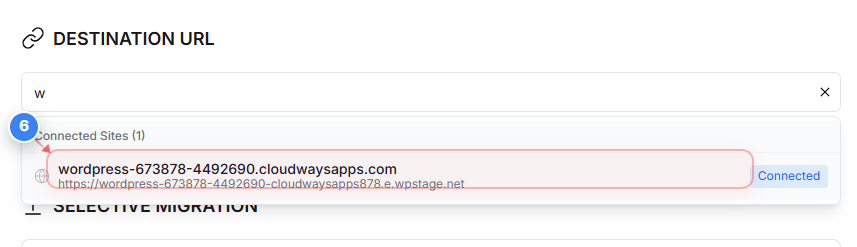
Step 6 of 10
Select destination site
Our system will automatically search for the site from the list of sites linked to your account and display them in a selectable dropdown. Click the listed connected site shown in the center of the page to select the desired site.
Note: The Connected label confirms BlogVault can access the destination.
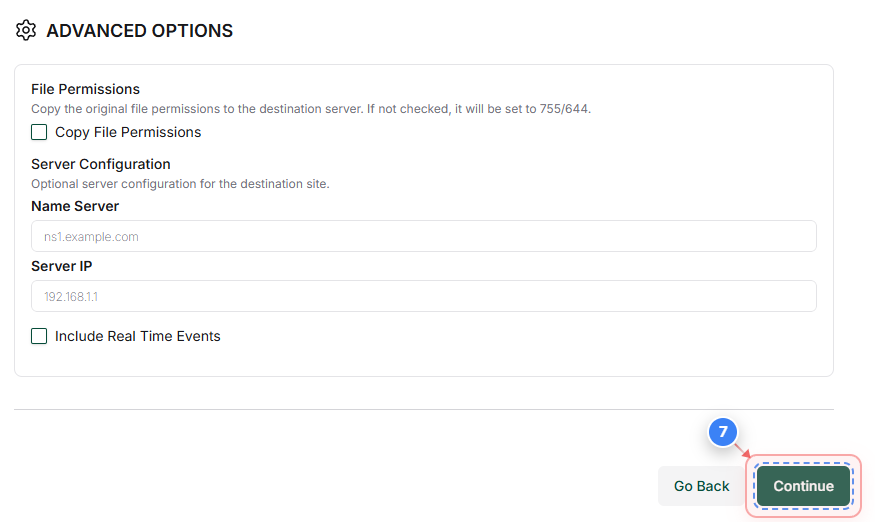
Step 7 of 10
Confirm backup version
Click Continue at the bottom of the page to proceed with the selected backup version for migration.
Note: Ensure the selected backup date matches the version you want to migrate.
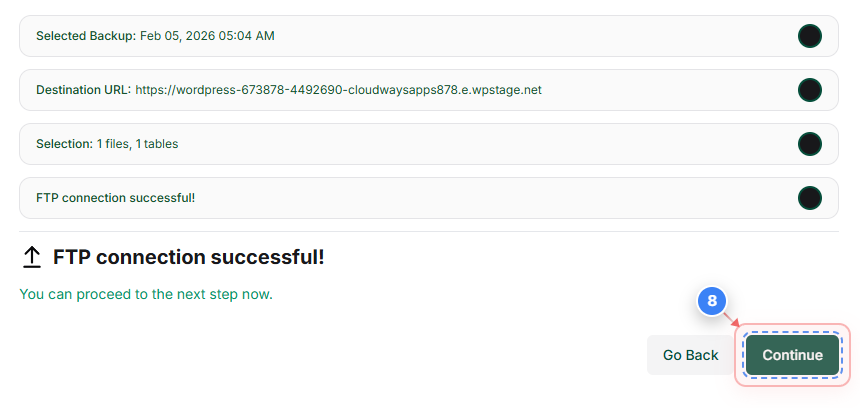
Step 8 of 10
Review migration details
Our system will automatically connect to the destination site using our plugin. Click Continue in the center of the page to confirm the selected backup and destination URL.
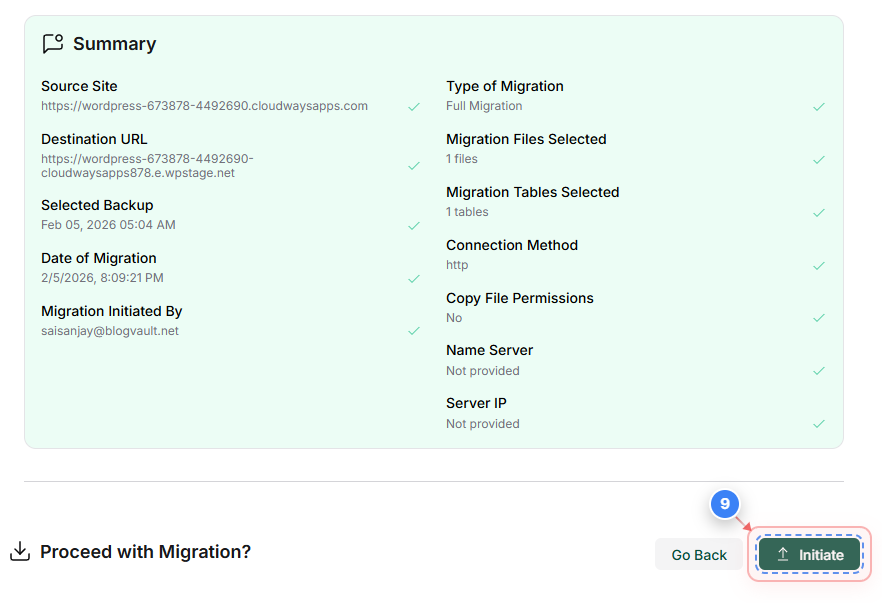
Step 9 of 10
Initiate migration
Review the migration summary and click the Initiate button to start migrating your site data to the destination URL.
Step 10 of 10
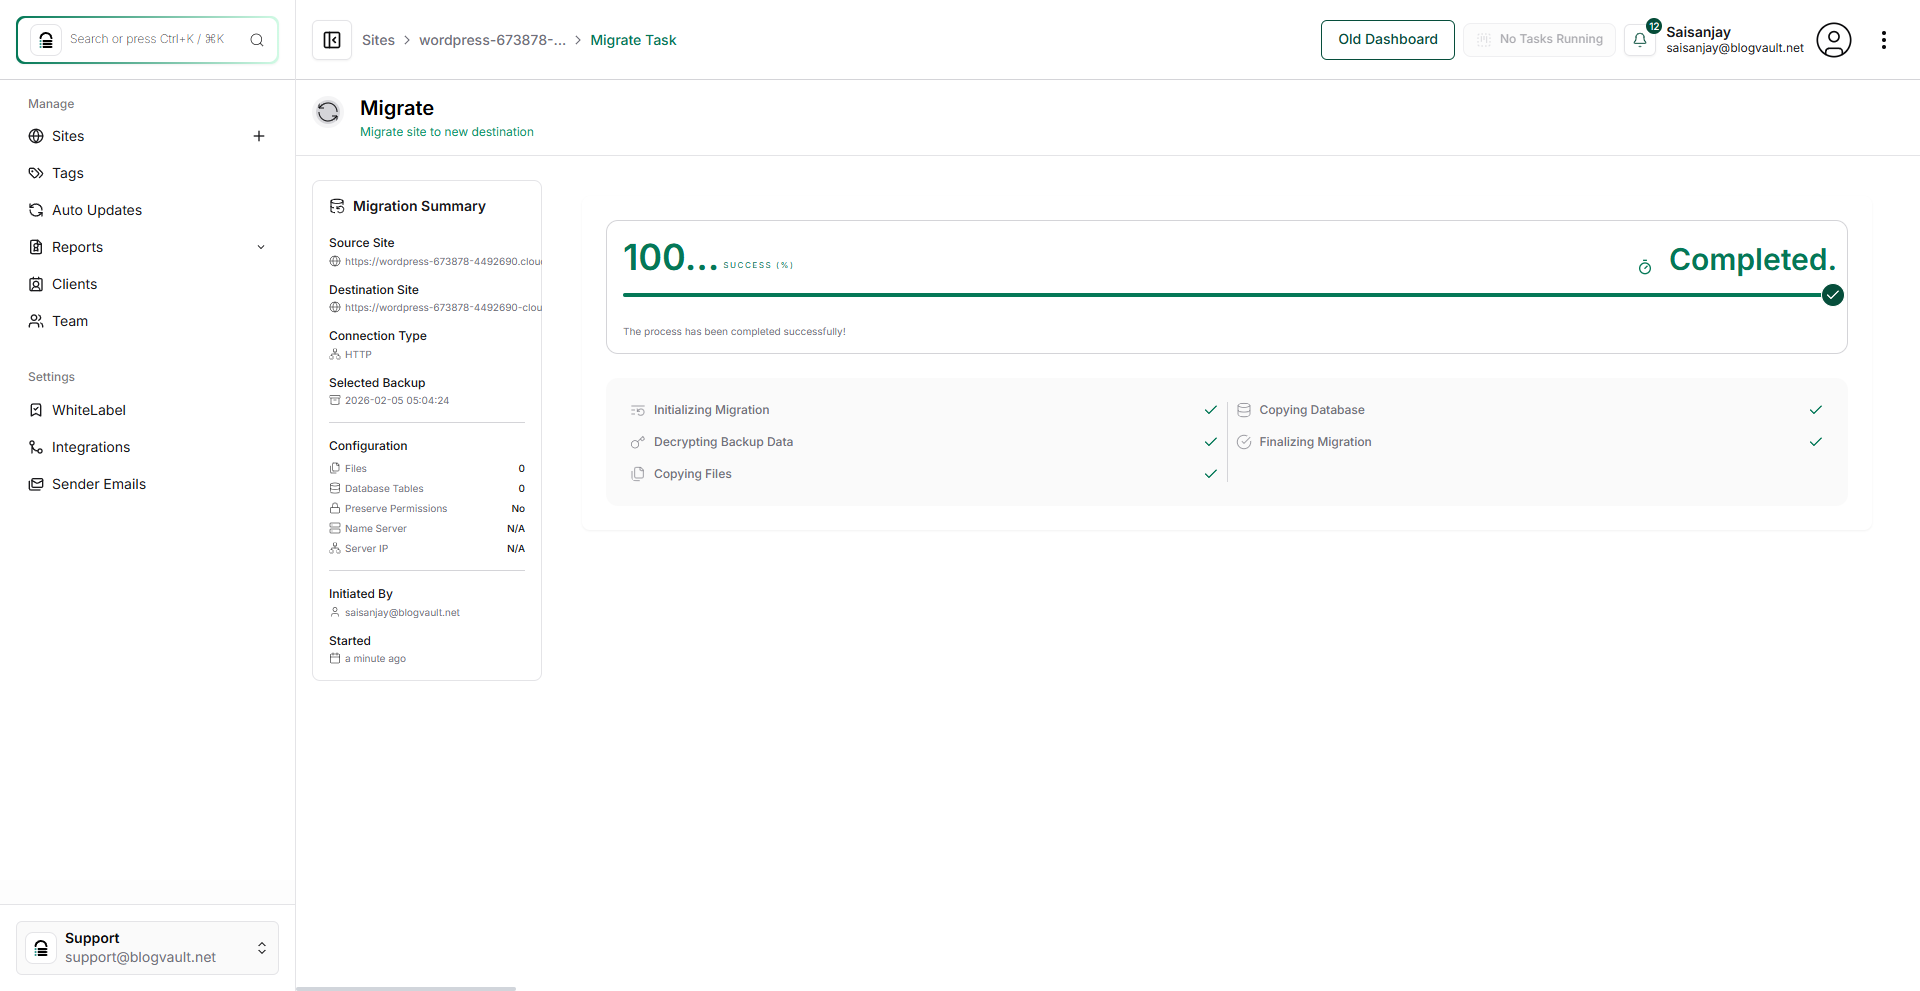
Migration completes.
You can view the migration process in realtime and once it is complete(100%), you can view the destination site.
Note: If you face any errors during migration. Please reach out to our support