How Do I Back Up Non-WordPress Folders?
Step 1 of 6
Open Your Site Dashboard
Click on your site name in the Sites page to open its management dashboard.
Note: Use this to access all management tools for the selected site.

Step 2 of 6
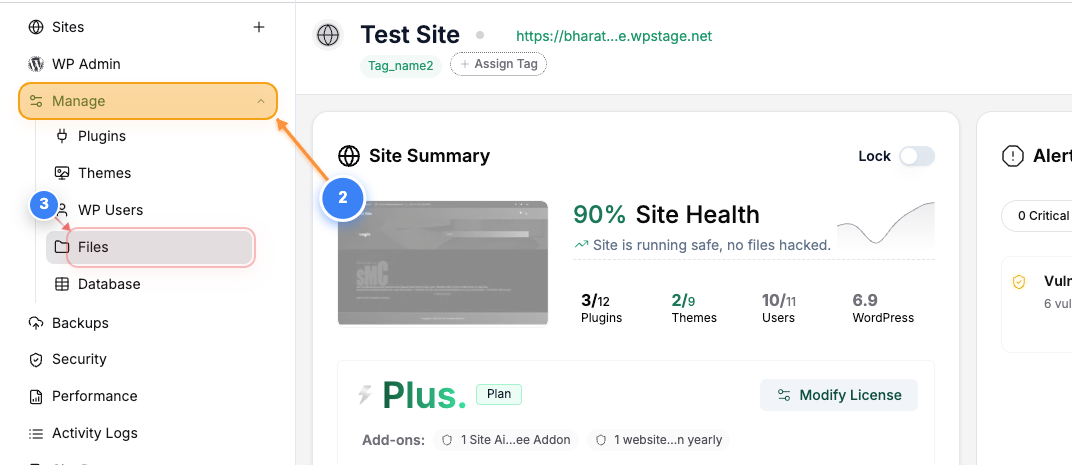
Open File Management
Select Files in the Manage menu to view the site's file browser.
Note: This lets you review and manage files available for sync.
Step 3 of 6
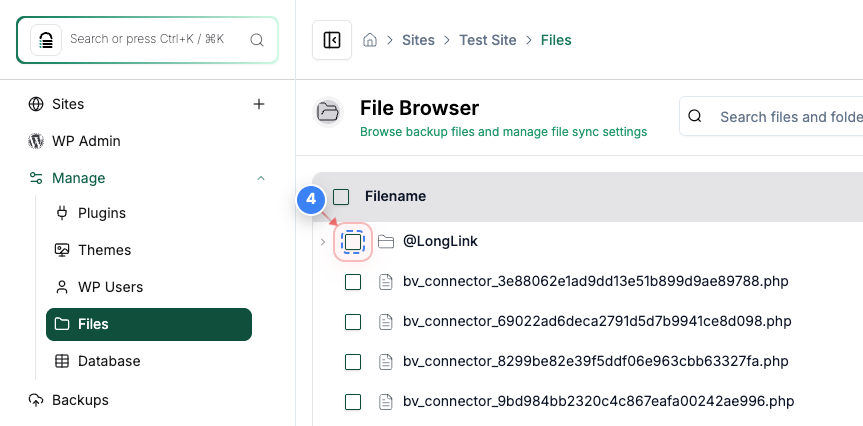
Select Folder for Sync
Use the checkbox next to the folder in the file list to mark it for syncing.
Note: Selecting a folder allows you to include it in file sync operations.
Step 4 of 6
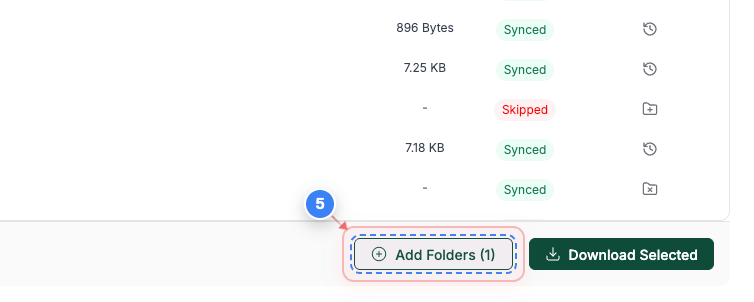
Add Selected Folder
Click the Add Folders button at the bottom of the file browser to include the selected folder in sync.
Note: The button shows how many folders will be added based on your current selections.
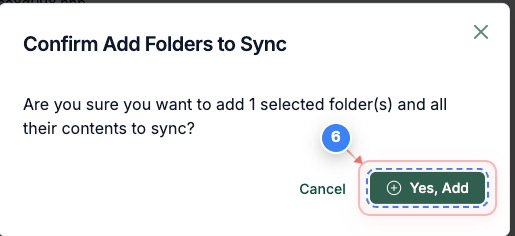
Step 5 of 6
Confirm Adding Folder
In the confirmation dialog, click Yes, Add to approve adding the folder and its contents to sync.
Note: This ensures the folder is included in future sync operations.
Step 6 of 6
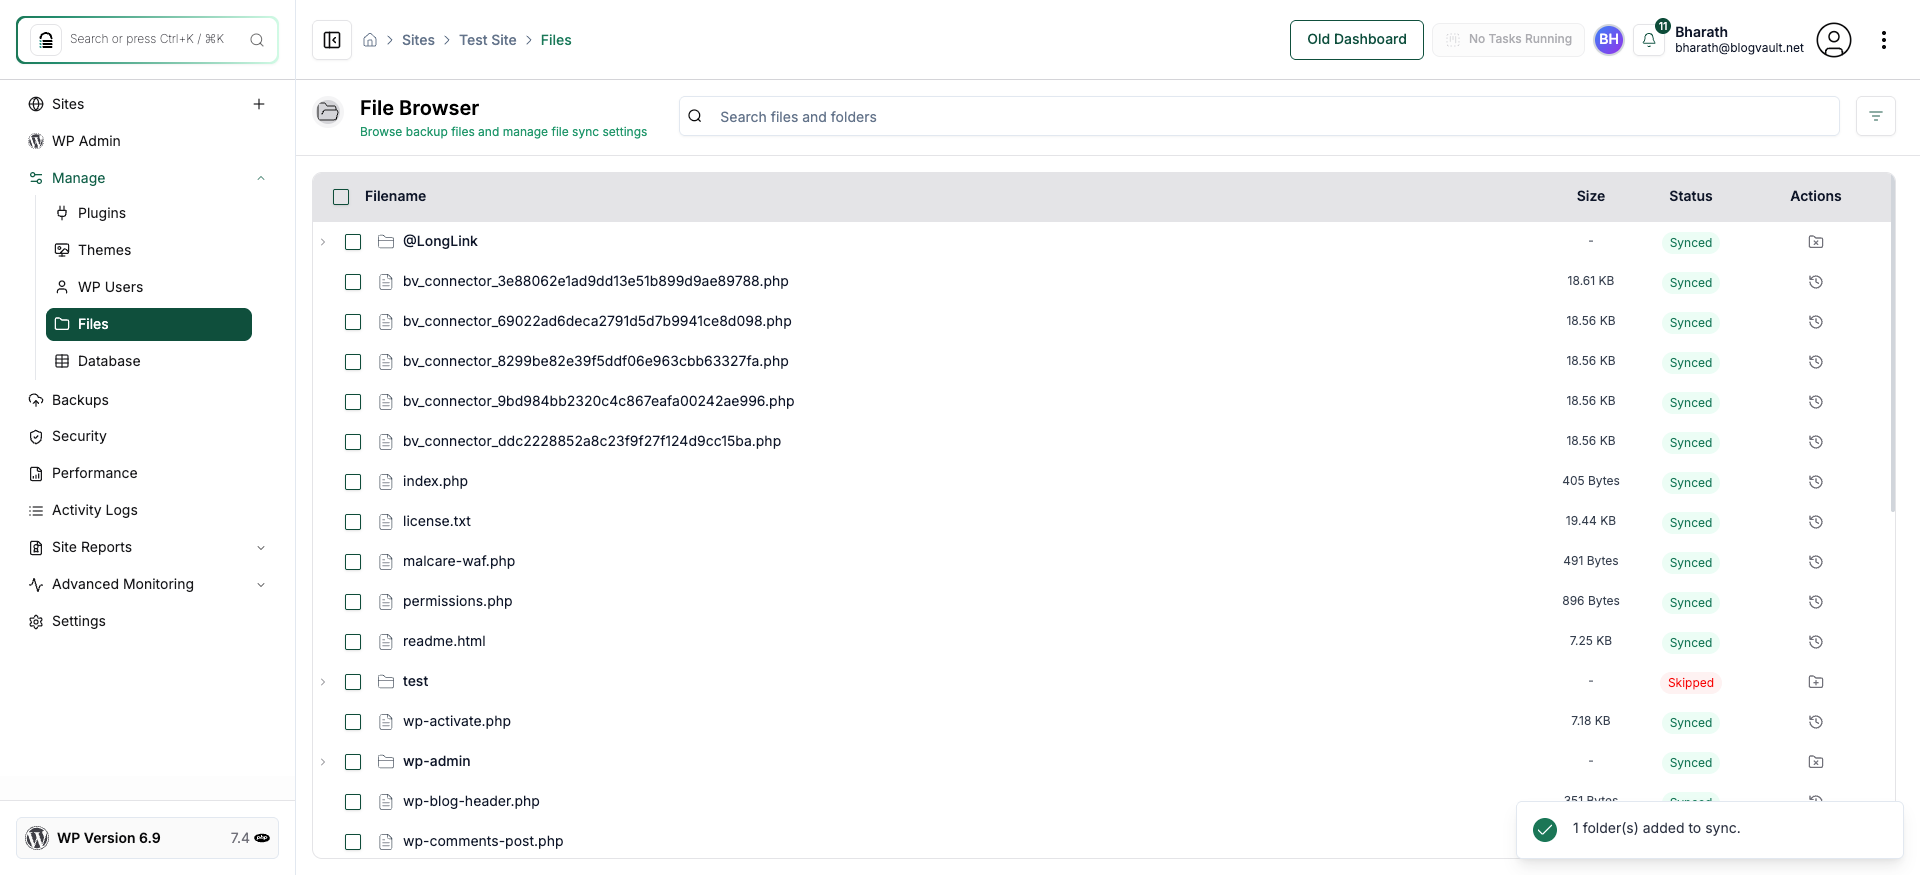
Verify Folder Sync Status
If the folder you’re trying to add contains a WordPress installation, it cannot be included because our system treats it as a separate site. Otherwise, review the updated file list to confirm the selected folder appears with a synced status, and check the success message indicating the folder was added.
Note: Look for the green success toast and the synced indicator next to the folder to confirm everything is configured correctly.